
Tree photography is an enthralling and highly rewarding part of landscape photography. Travelers and photographers have been captivated by their beauty and mystery since time immemorial. Capturing the woods has steadily grown to become a common hobby among young adults. There is something about trees that take the viewer into a calm state of trance. The peace and tranquility of being surrounded by nature are unparalleled, with some people considering it almost therapeutic.
As fun and enticing as outdoor photography can be, it can also be tricky and even a little intimidating, especially for novices. This guide will be helpful for beginners, nature lovers, and enthusiasts looking to take their first steps into the world of landscape photography.
From choosing the right angle, the right equipment, and lighting, we have got your tree photography needs covered.
Types of Tree Photography
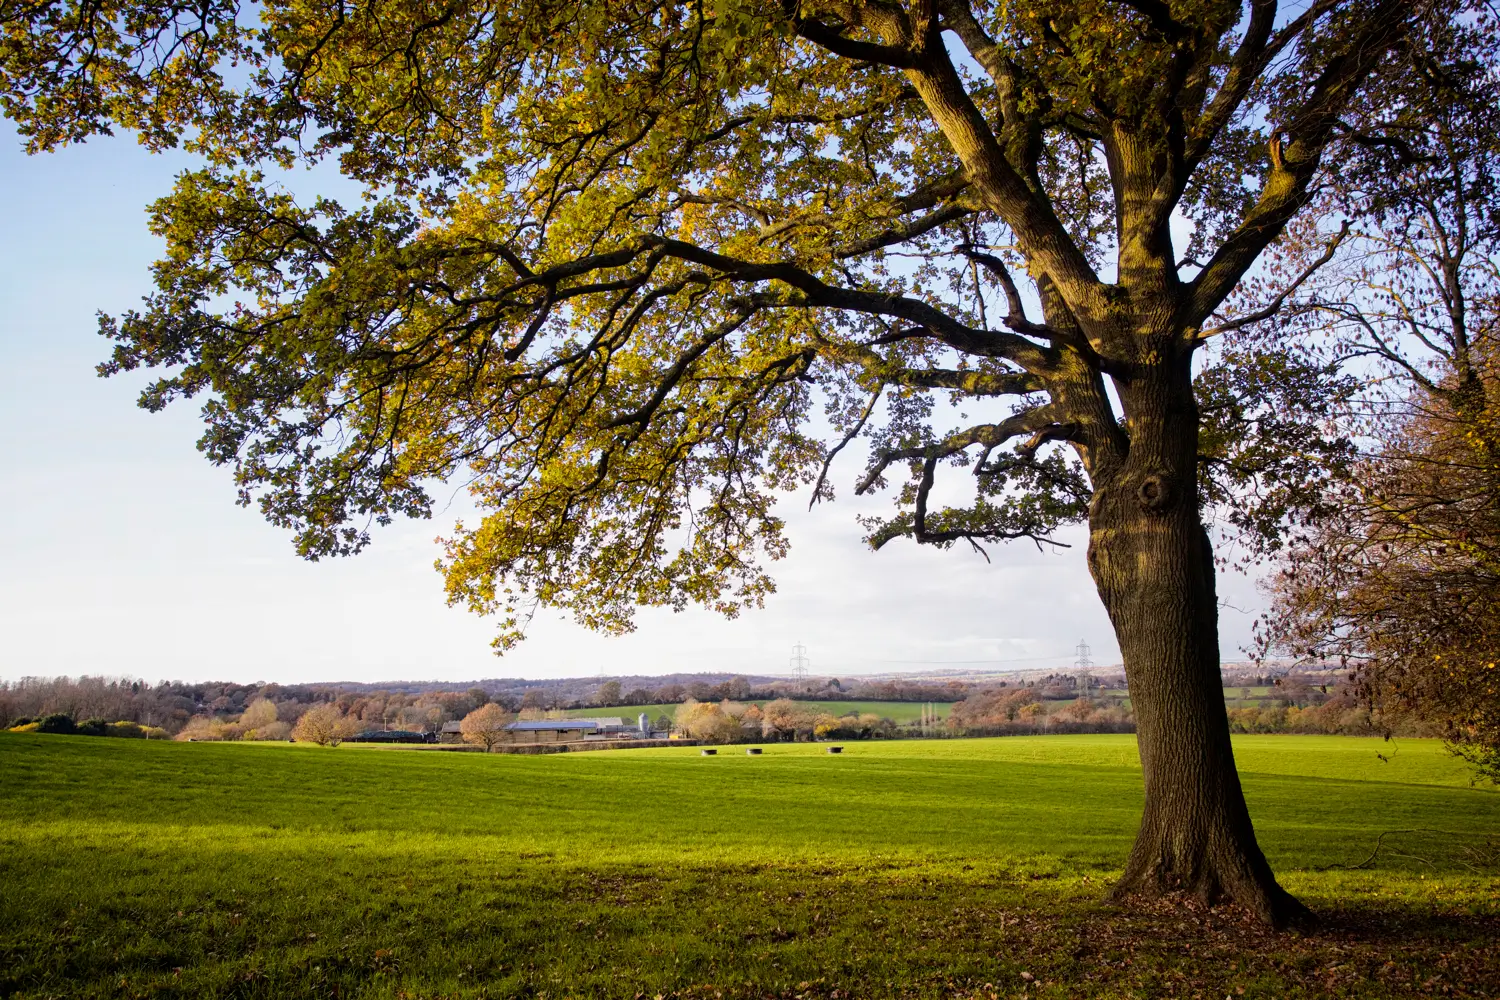
Trees can be found on almost every landmass on Earth. They are scattered throughout the world and come in innumerable shapes, sizes, and species. Tree photography is as diverse as the subject it caters to. The aesthetics of the image can change depending on the time of the day or the season. Even seemingly insignificant phenomena like humidity can affect the result. Trees can be snapped in the following ways:
1. Abstract Photography
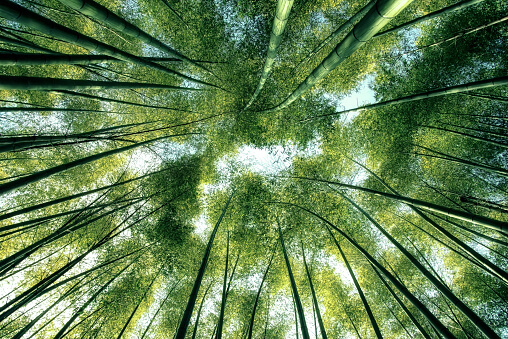
Abstract photography highlights the unique patterns of the branches and the canopy. It focuses on the colors and shades to give an abstract feel to the photo. It avoids giving an obvious representation of a tree. It often contains unique angles like a top-down or bottoms-up view and other creative techniques to create a striking image that the viewer must interpret. It forces the viewer to look beyond the literal and towards the abstract.
2. Black and White
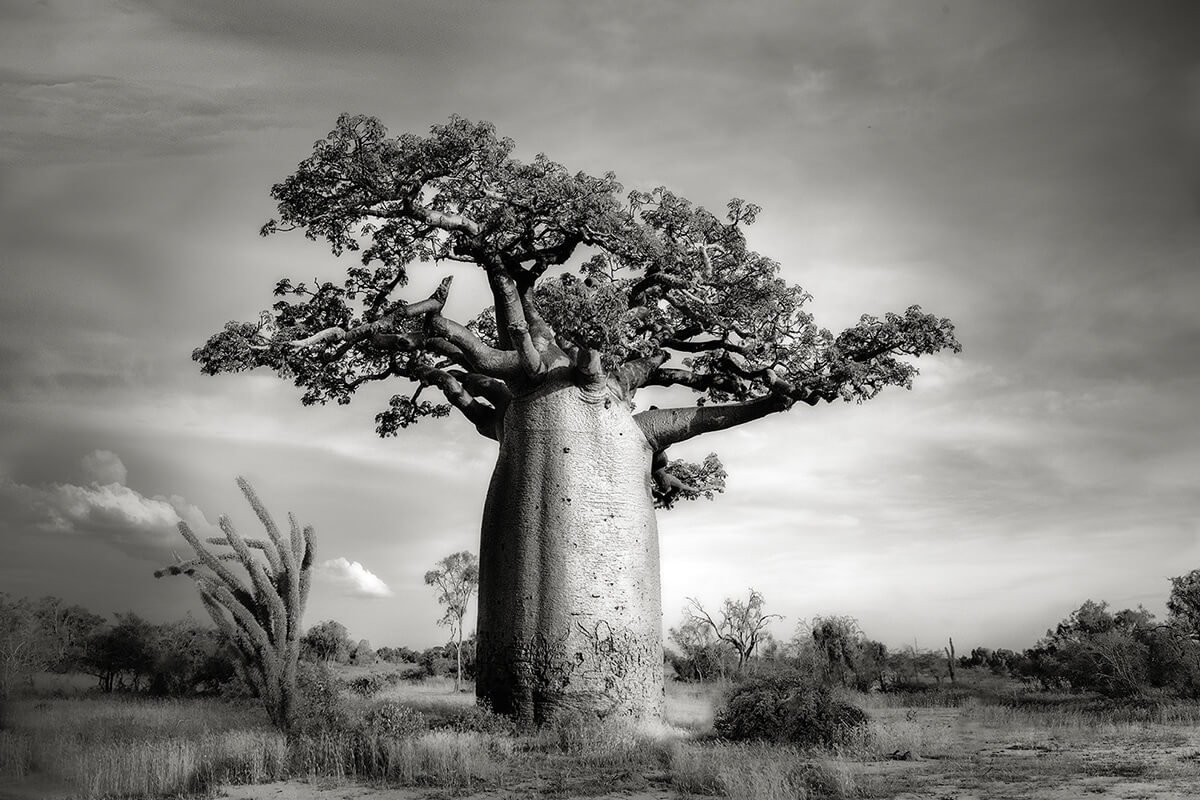
We associate trees with their striking colors. Capturing them in black and white helps us let go of the distractions of color. Instead, we focus on the shape and form of the tree. The playful mesh of light and shadow becomes even more apparent. Black and white imagery is known to evoke a sense of age, contemplation, simplicity, and in some cases, even sadness. It gives an old-school noir feel to the image.
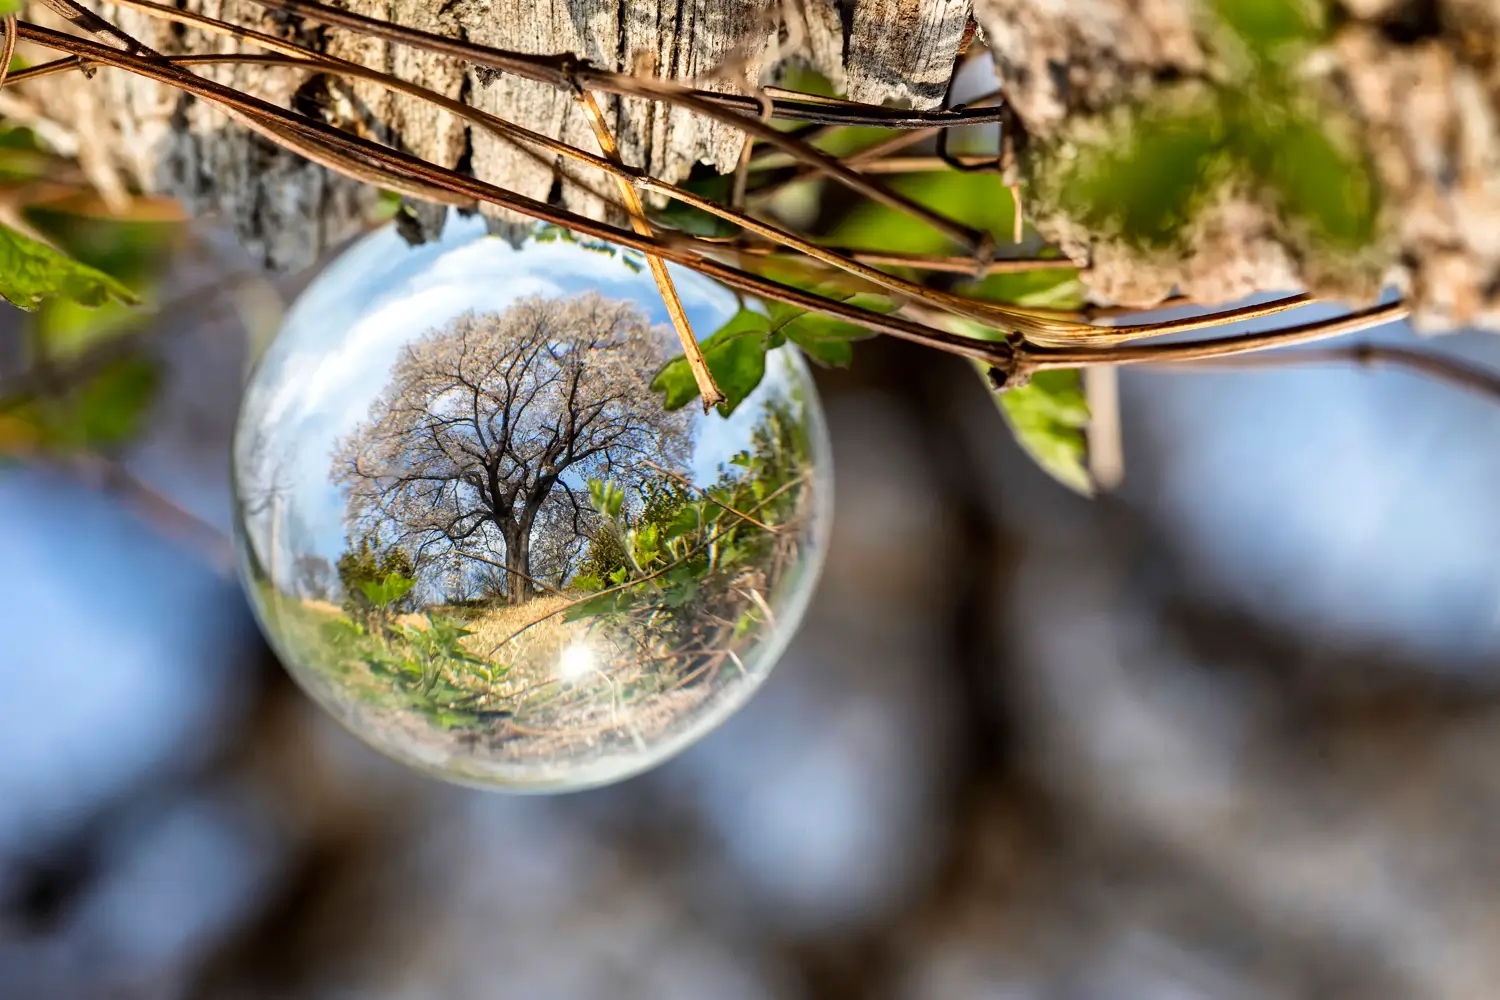
3. Fine Art Photography
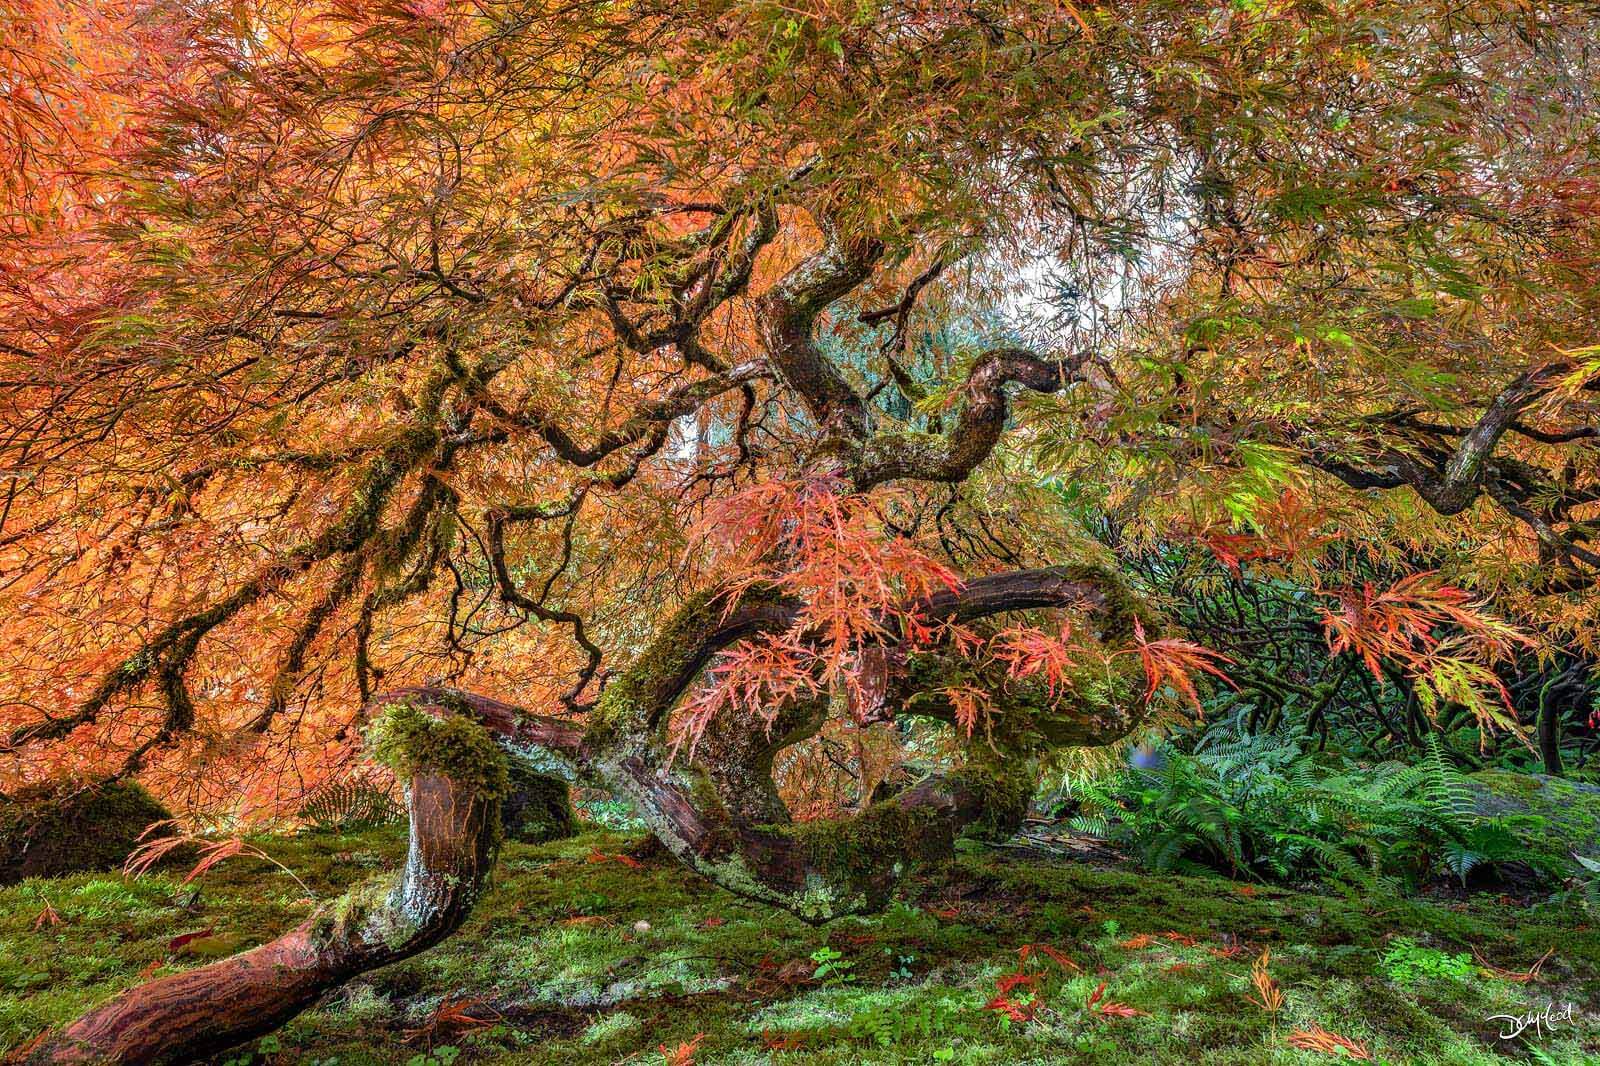
It involves photographing the tree in a highly imaginative way to evoke certain emotions in the mind of the viewer. It uses various lighting techniques to create a specific mood and atmosphere. In fine art, nothing is what it seems. The photo usually portrays a deep sense of belonging with nature. The photographer experiments with the shape of the leaves, the shadows, the canopy, and the branches to create something truly unique.
4. Silhouette
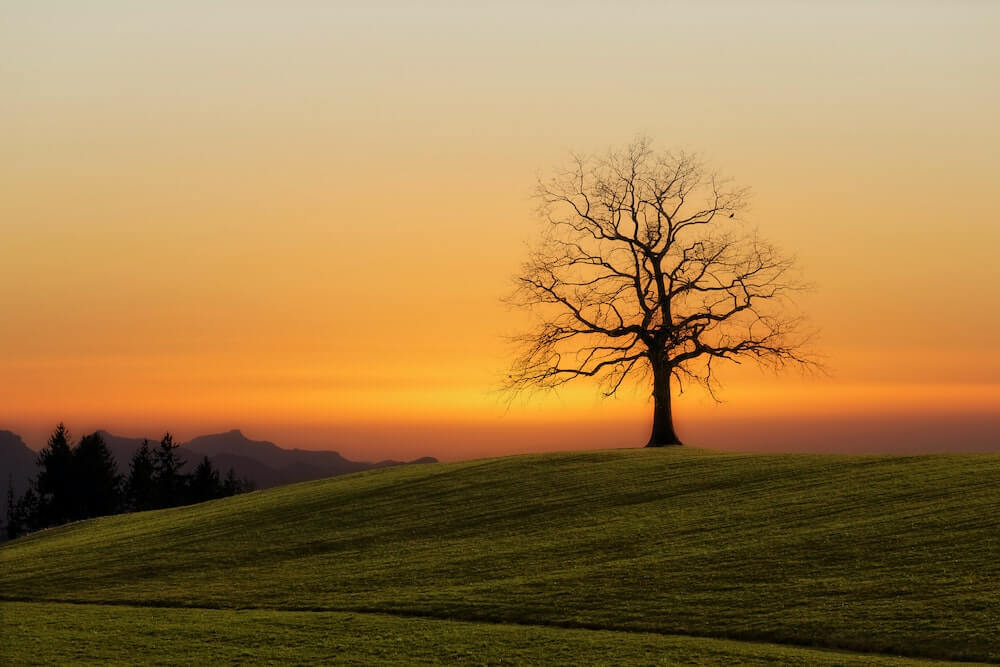
This is a particularly beautiful way of capturing trees, mainly because it turns the formula on its head. Instead of the tree being the focus of the picture, we see a plain black shadow. The focus of the image is everything around the tree, be it mountains, rivers, or a starry night sky.
5. Long Exposure
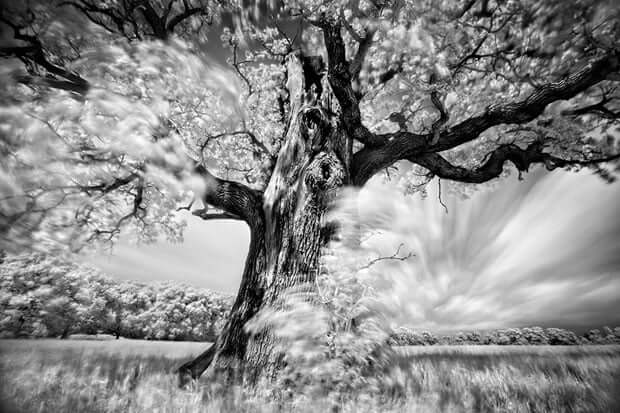
A long exposure effect shows how various phenomena surrounding the tree affect it over time. It involves leaving the camera on for a long period to create stunning and ethereal results. It gives the viewer a sense of passing time while creating dreamy images of the tree.
Tree Photography: Things to Consider
Tree photography requires a certain amount of knowledge and skill. Amateur photographers need to know how their camera works, what kind of lighting is required, and certain technical aspects like post-processing.
1. Camera
The first and most important tool for a photographer is their camera. Tree photography usually requires a wide lens to capture the entire tree. Any lens with a 14mm – 24mm zoom should do the job well. Make sure that the tree is in the center of the image so that the wide lens does not distort it at the edges. Some photographers are fond of this and incorporate it into their images. Experts believe a telephoto lens gives you a lot more control than standard wide-angle lenses. It is a good option for clicking trees that are far away.
The settings must be precise so that the image doesn’t become blurry. Taking a series of images helps the chances of getting a high-resolution photograph. You need to choose your aperture depending on your preferred depth of field. An AHDR setting will be better in a forest scene compared to the usual HDR photography.
Along with your camera, a tripod might be a worthwhile investment. It will help stabilize the camera. A device with high ISO also works wonders in case a tripod is not available. The forest canopy tends to leave a lot of glare on the image. A polarizing filter will surely come in handy in such situations. It filters out the noise and allows you to capture the leaf shades in pristine detail.
Last but not least, forest weather can be unpredictable. It is wise to carry a towel or cover in case of rain or excess humidity. Humidity, in particular, can spoil your camera. It is best to be prepared for this situation.
2. Lighting and Composition
Lighting is one of the most important aspects of any kind of photography, as you can probably guess. The direction of sunlight, time of the day, and even the presence of clouds can drastically alter your shots. Overcast skies can be perfect for clicking atmospheric, moody shots.
Different techniques can be employed for different styles of tree photography. For silhouette shots, facing the camera towards the sun will help. The backlight drowns any detail from the tree while making the background much brighter and clearer.
A great advantage of tree photography is that since there is only one source of light, i.e., the sun, you can get a wide variety of shots just by moving around. So don’t be afraid to move your tripod around!
3. Post-Processing
Post-processing is a crucial part of getting your shot ready. Although it does not change your click, it adds some finishing touches to it. You can be as creative with it as you want to. It helps blur the parts you want to be blurred and emphasize the part you love. For novices, it can get a bit overwhelming, which might lead them to overdo the processing. It is best to keep it as simple as possible and not go overboard with the tools.
Tips for Great Tree Photography Photos
When it comes to tree photography, there is no limit to creativity. The following are some tips to help you get those jaw-dropping images:
- Make it intimate – Photos with multiple trees are great, but they lack detail. Shots focusing on various parts of the tree, like the bark or leaves with the sun shining through them, give a feeling of intimacy and connection.
- Use different techniques – There is no shortage of techniques for photography. You can choose silhouettes, blurs, long exposure, and many more. Tree photography at night adds another dimension to your experience.
- Use the rule of thirds – This rule says that your subject should fit in one-third of the image, leaving the rest with more open space. This will help capture other small parts of the scenery along with the tree.
- Click the same tree for a year – Trees look very different in different seasons. Lining up seasonal shots of the same tree gives an excellent time-lapse effect. Another great idea is to click the tree at different times of the day. This will give photographers a great idea of how shadows come into play.
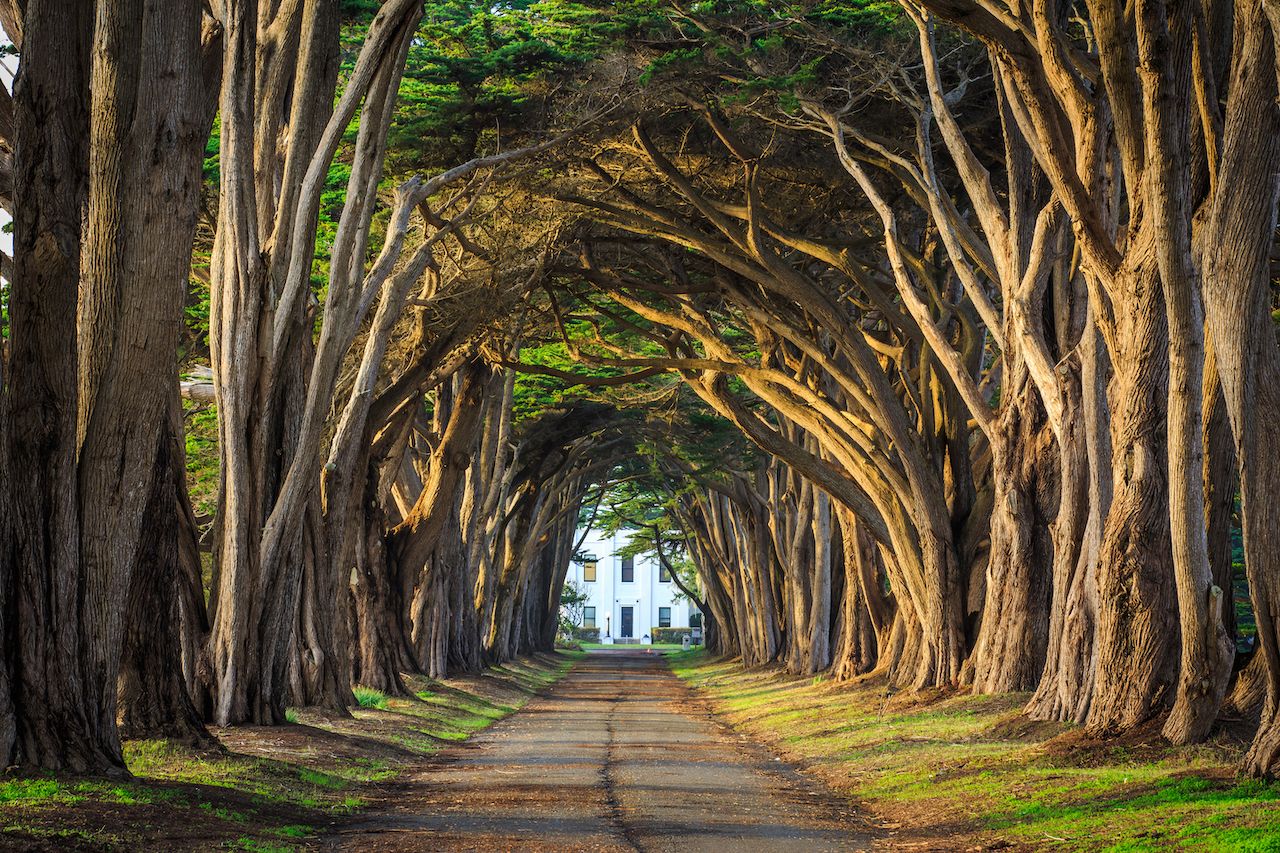
- Tree tunnels – This interesting formation may not be available everywhere, but they make for one of the most aesthetic shots of trees. Tree tunnels are two rows of trees running parallel with a trail between them. Photographers can use depth-of-field settings to make the image pop out.
Conclusion
It might be clear that with the help of some useful gear and knowledge of image composition, lighting, angles, and perspectives, anyone can boost their tree photography skills. One crucial thing to remember is that, in the end, photography is an art. There are no hard and fast rules that you must play by. Photographers should experiment with their shots to see what works for them specifically.
This will help them develop a unique style and niche. Post-processing can add some final touches to the image, but it can never replace the raw photo taken by you.
So set off into nature with your camera, and let your imagination run wild as you capture the magnificence of the trees around you.


Leave a Reply